2. Create a Post
Follow the technical planning list we made, and make sub tasks for each major feature.
- Create a post
- Make a /posts/new route (
/posts/new) and template (posts-new.handlebars) - Add form to
posts-newtemplate - Make
createposts route and check that form data is sending to new route - Add
Postmodel with mongoose - Confirm posts are saving to database
- Make a /posts/new route (
- Show all posts
- Show one post
- Comment on posts
- Create subreddits
- Sign up and Login
- Associate posts and comments with their author
- Make comments on comments
- Vote a post up or down
New Post Form#
To create a new instance of a resource, we first have to make a button to make a new post.
note
Since making a post is a very important Call To Action (CTA), we'll put it in the navbar.
<li><a href="/posts/new" class="btn btn-primary navbar-btn">New Post</a></li>Next, we have to create the form. Let's follow RESTful routing and make the url match this pattern: /<<RESOURCE NAME PLURAL>>/new. In the case of a resource Post, the path will be /posts/new.
note
Create this /posts/new route and have it render a newly created template named posts-new.handlebars.
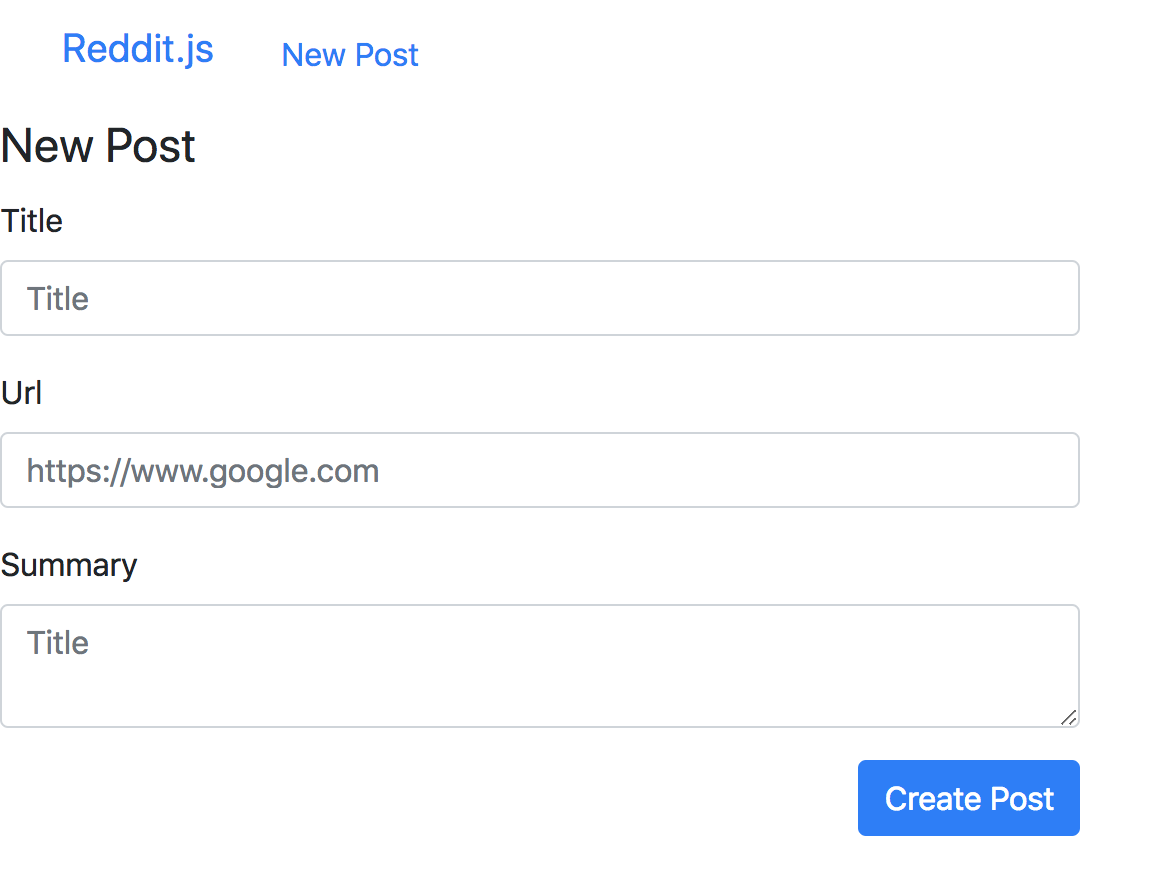
Now, use the bootstrap form classes to add a form for an object with a title, url, and summary attributes. Your form should have an action that points to a create route => /posts.
Remember to put this form in the center 4 columns of a grid.
<div class="row"> <div class="col-sm-4 col-sm-offset-4"> <form action="/posts/new" method="post"> <legend>New Post</legend> <div class="form-group"> <label for="post-title">Title</label> <input type="text" name="title" class="form-control" id="post-title" placeholder="Title" /> </div> <div class="form-group"> <label for="post-url">Url</label> <input type="url" name="url" class="form-control" id="post-url" placeholder="https://www.google.com" /> </div> <div class="form-group"> <label for="post-summary">Summary</label> <textarea name="summary" class="form-control" id="post-summary" placeholder="Summary"></textarea> </div> <div class="text-right"> <button type="submit" class="btn btn-primary">Create Post</button> </div> </form> </div></div>Your nav bar should look like the following:
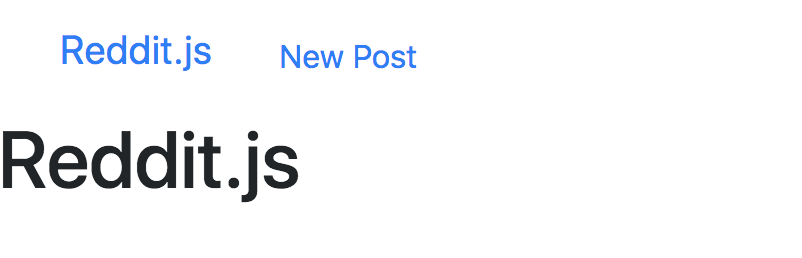
And the form:
Submit the Form#
So what happens when you submit this form?
Nothing! We're missing a /posts/new route, so let's make it.
[action] First, make a new folder called
controllers. Within, create the fileposts.js.
module.exports = (app) => { // CREATE app.post("/posts/new", (req, res) => { console.log(req.body) })}Next, require this file in your
server.jsfile, and pass in theappvariable as an argument.
require("./controllers/posts")(app)What happens when you submit the form?
Is req.body defined? No?
That's because you need to parse the json coming in through the req.body.
It's time to get req.body to reflect and contain the submitted form inputs from your front-end.
Req.body for Middleware#
Research what express json does in the documentation.
While you're at it, also research the role of express validator. What role does it play alongside the express.json() middleware?
Essentially, express.json() is a necessary middleware to communicate with your POST requests.
express-validator is a wrapper around validator.js that validates and sanitizes string inputs.
[info] In production, your users will try to type in all kinds of nonsense into your forms --- even things your site wasn't intended to deal with!
express-validatorplugs into the Express.js ecosystem and helps keep you and your code safe.
[action] Install
express-validator:
npm install express-validatorNote: as of npm 5.0.0 installed modules are added as a dependency by default. The
--saveoption is no longer needed. Stack Overflow Answer
[action] Next, add the following to your
server.jsfile:
app.use(express.json())app.use(express.urlencoded({ extended: false }))Connecting to your database#
You're going to need to connect to a NoSQL database called MongoDB. Look through the documentation as a reference if you get stuck. It's just a good habit to get into.
[action] Let's start off by creating a new
/datafolder in the top-level structure of your project, then create a new JavaScript file.Open your terminal and type:
mkdir datacd datatouch reddit-db.jsNow, we need to make sure that we have mongodb installed by doing a which command.
[action] You should see a destination path to the Mongo executable:
$ which mongod/usr/local/bin/mongodWe're also going to make sure that our Mongo database is running:
brew services restart mongodb-communityGreat! Next, we're going to use the reddit-db.js file we made earlier to connect to the database.
[action] Open
reddit-db.js, and paste the following code inside:
/* Mongoose Connection */const mongoose = require('mongoose');assert = require('assert');>const url = 'mongodb://localhost/reddit-db';mongoose.connect( url, { useNewUrlParser: true }, function(err, db) { assert.equal(null, err); console.log('Connected successfully to database');> // db.close(); turn on for testing });mongoose.connection.on('error', console.error.bind(console, 'MongoDB connection Error:'));mongoose.set('debug', true);>module.exports = mongoose.connection;Now all that's left is to tie this into our main server.js file.
[action] Open up
server.js, and paste this in:
// Set dbrequire("./data/reddit-db")Saving to the Database#
In order to interact with the MongoDB database we're going to use the npm module mongoose. Mongoose is the ODM - the Object Document Mapper. That means that it maps JavaScript objects in our application to documents in the database. Mongoose works through schemas, written in code, called Models.
IMPORTANT NOTE: Make sure that you put all middleware requires BEFORE all routes (including routes imported from other files), or your routes may not work!
[action]
Read the note above again! No really, re-read it so that you remember to do this throughout the tutorial. Your future self will thank you from all the time/frustration you save
[action] Create the folder
modelsand inside put thepost.jsfile. Here's a sample model for ourPostresource. We can use destructuring to getSchemadirectly from the require statement. If you would like a video explaining destructuring check out JS Destructuring in 100 Seconds
const { Schema, model } = require('mongoose');>const postSchema = new Schema({ title: { type: String, required: true }, url: { type: String, required: true }, summary: { type: String, required: true }});>module.exports = model('Post', postSchema);Now that we have a model, require it at the top of
controllers/posts.js:
const Post = require("../models/post")Put it to use in our "create posts" endpoint:
const Post = require('../models/post');
module.exports = (app) => {
  // CREATE  app.post('/posts/new', (req, res) => {    // INSTANTIATE INSTANCE OF POST MODEL    const post = new Post(req.body);
// SAVE INSTANCE OF POST MODEL TO DB AND REDIRECT TO THE ROOT post.save(() => res.redirect('/')); });>};Notice how
res.directis on the same line and we have left out the curly brackets. This is not a mistake. If an arrow function only has one line in the curly brackets and we want to return that line, we can put it on the same line and remove the curly brackets. Read more.Additionally, we want to ensure we always return the
resand exit the code execution, unless we have a specific reason why we want to continue the code execution.
Confirming Posts are Saving#
So we can save to the database, but how can we be sure? There are a couple of ways! We could go into the mongo shell and inspect our database, observing that the posts collection is now populated with documents. Alternatively, we can use a program, Robo 3T, to graphically inspect our database and observe what collections and documents we've created.
Use either the mongo shell or Robo 3T to confirm you are successfully creating posts before moving on.
Now Commit#
$ git add .$ git commit -m 'Users can submit and save posts'$ git pushSTRETCH CHALLENGE: Adding Created At and Updated At Attributes#
[challenge] Create a new model, and figure out how you can display these new attributes in your app:
const { Schema, model } = require("mongoose")
const postSchema = new Schema(  {    title: { type: String, required: true },    url: { type: String, required: true },    summary: { type: String, required: true },  },  { timestamps: true })
module.exports = model("Post", postSchema)As of Mongoose 4.0 you can now set timestamps options on the Schema and have Mongoose handle the created at and updated at attributes for you. The type assigned is Date.